You’ve just bought your brand-new, fabulous FFS Beauty Metal Dermaplaning Facial Exfoliation Kit and the excitement is flowing. But how do you level up your skincare routine at home to remove that pesky peach fuzz and exfoliate like never before?
What are the benefits of dermaplaning?
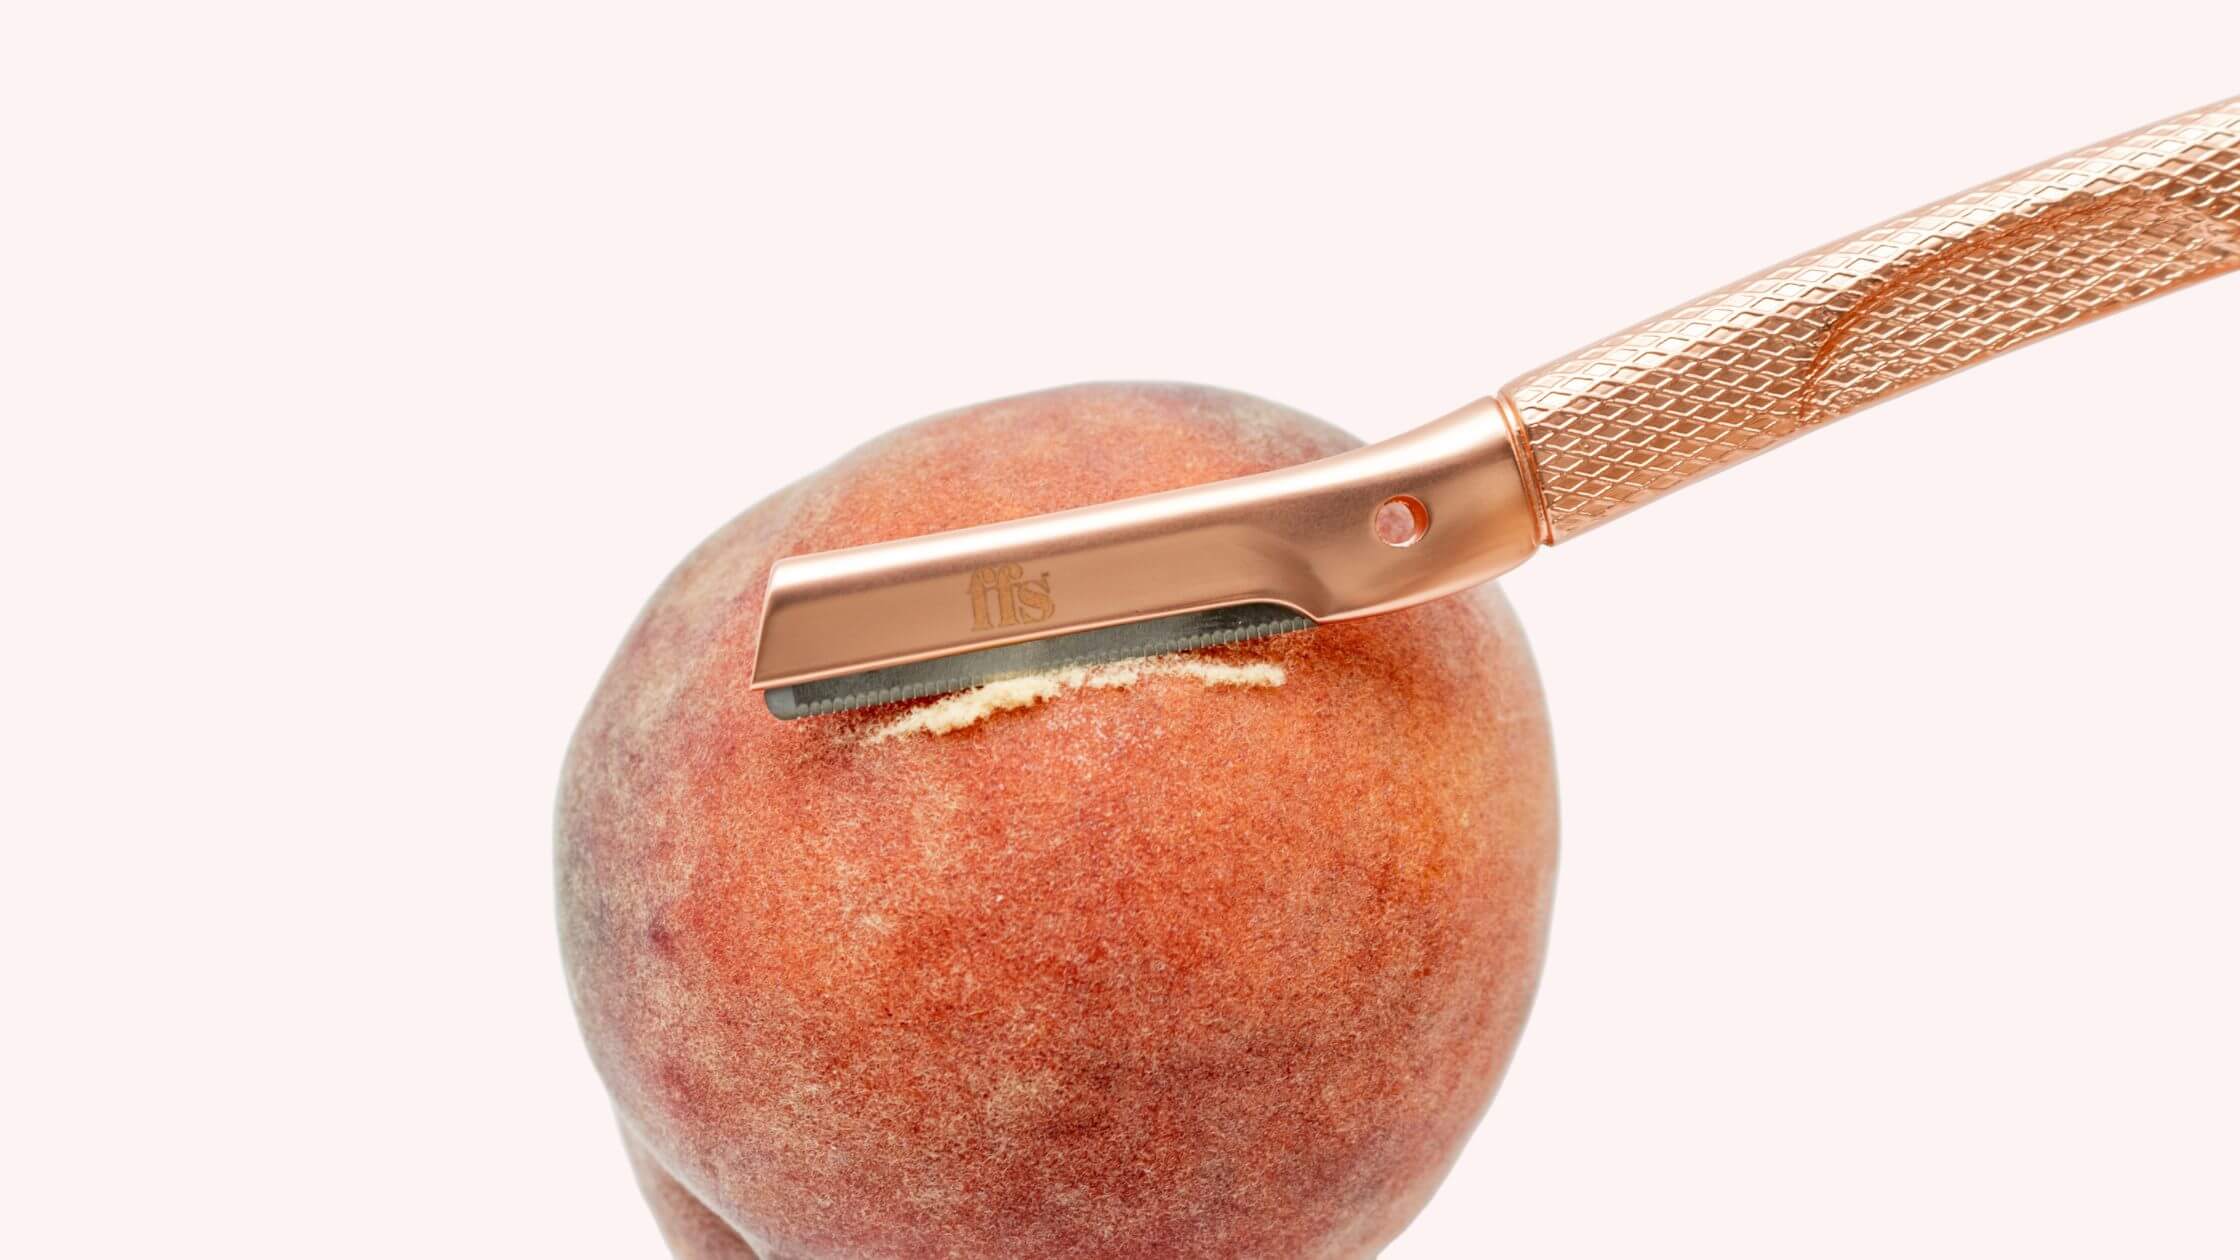
First, let’s go through what it actually is! Dermaplaning gently removes any unwanted dead skin cells and peach fuzz (vellus hair) on our faces using a painless blade. This helps exfoliate the skin on a deeper level than a facial scrub.
Not only does it whisk away the dullness, but it also kicks unwanted product build-up to the curb, leaving your skin looking fresher, younger, and more even toned than ever before. You're basically giving your face a spa-worthy reboot right at home!
How to dermaplane your face at home
1. Prep and Prime – Clean is Queen: Before you embark on this fabulous journey of facial exfoliation, wash your hands and cleanse your beautiful canvas using an exfoliating face product. Your favourite cream or cleanser will be perfect.

2. Dry is the Way: For dermaplaning, dry skin is your BFF. Pat your skin dry with a towel before use.

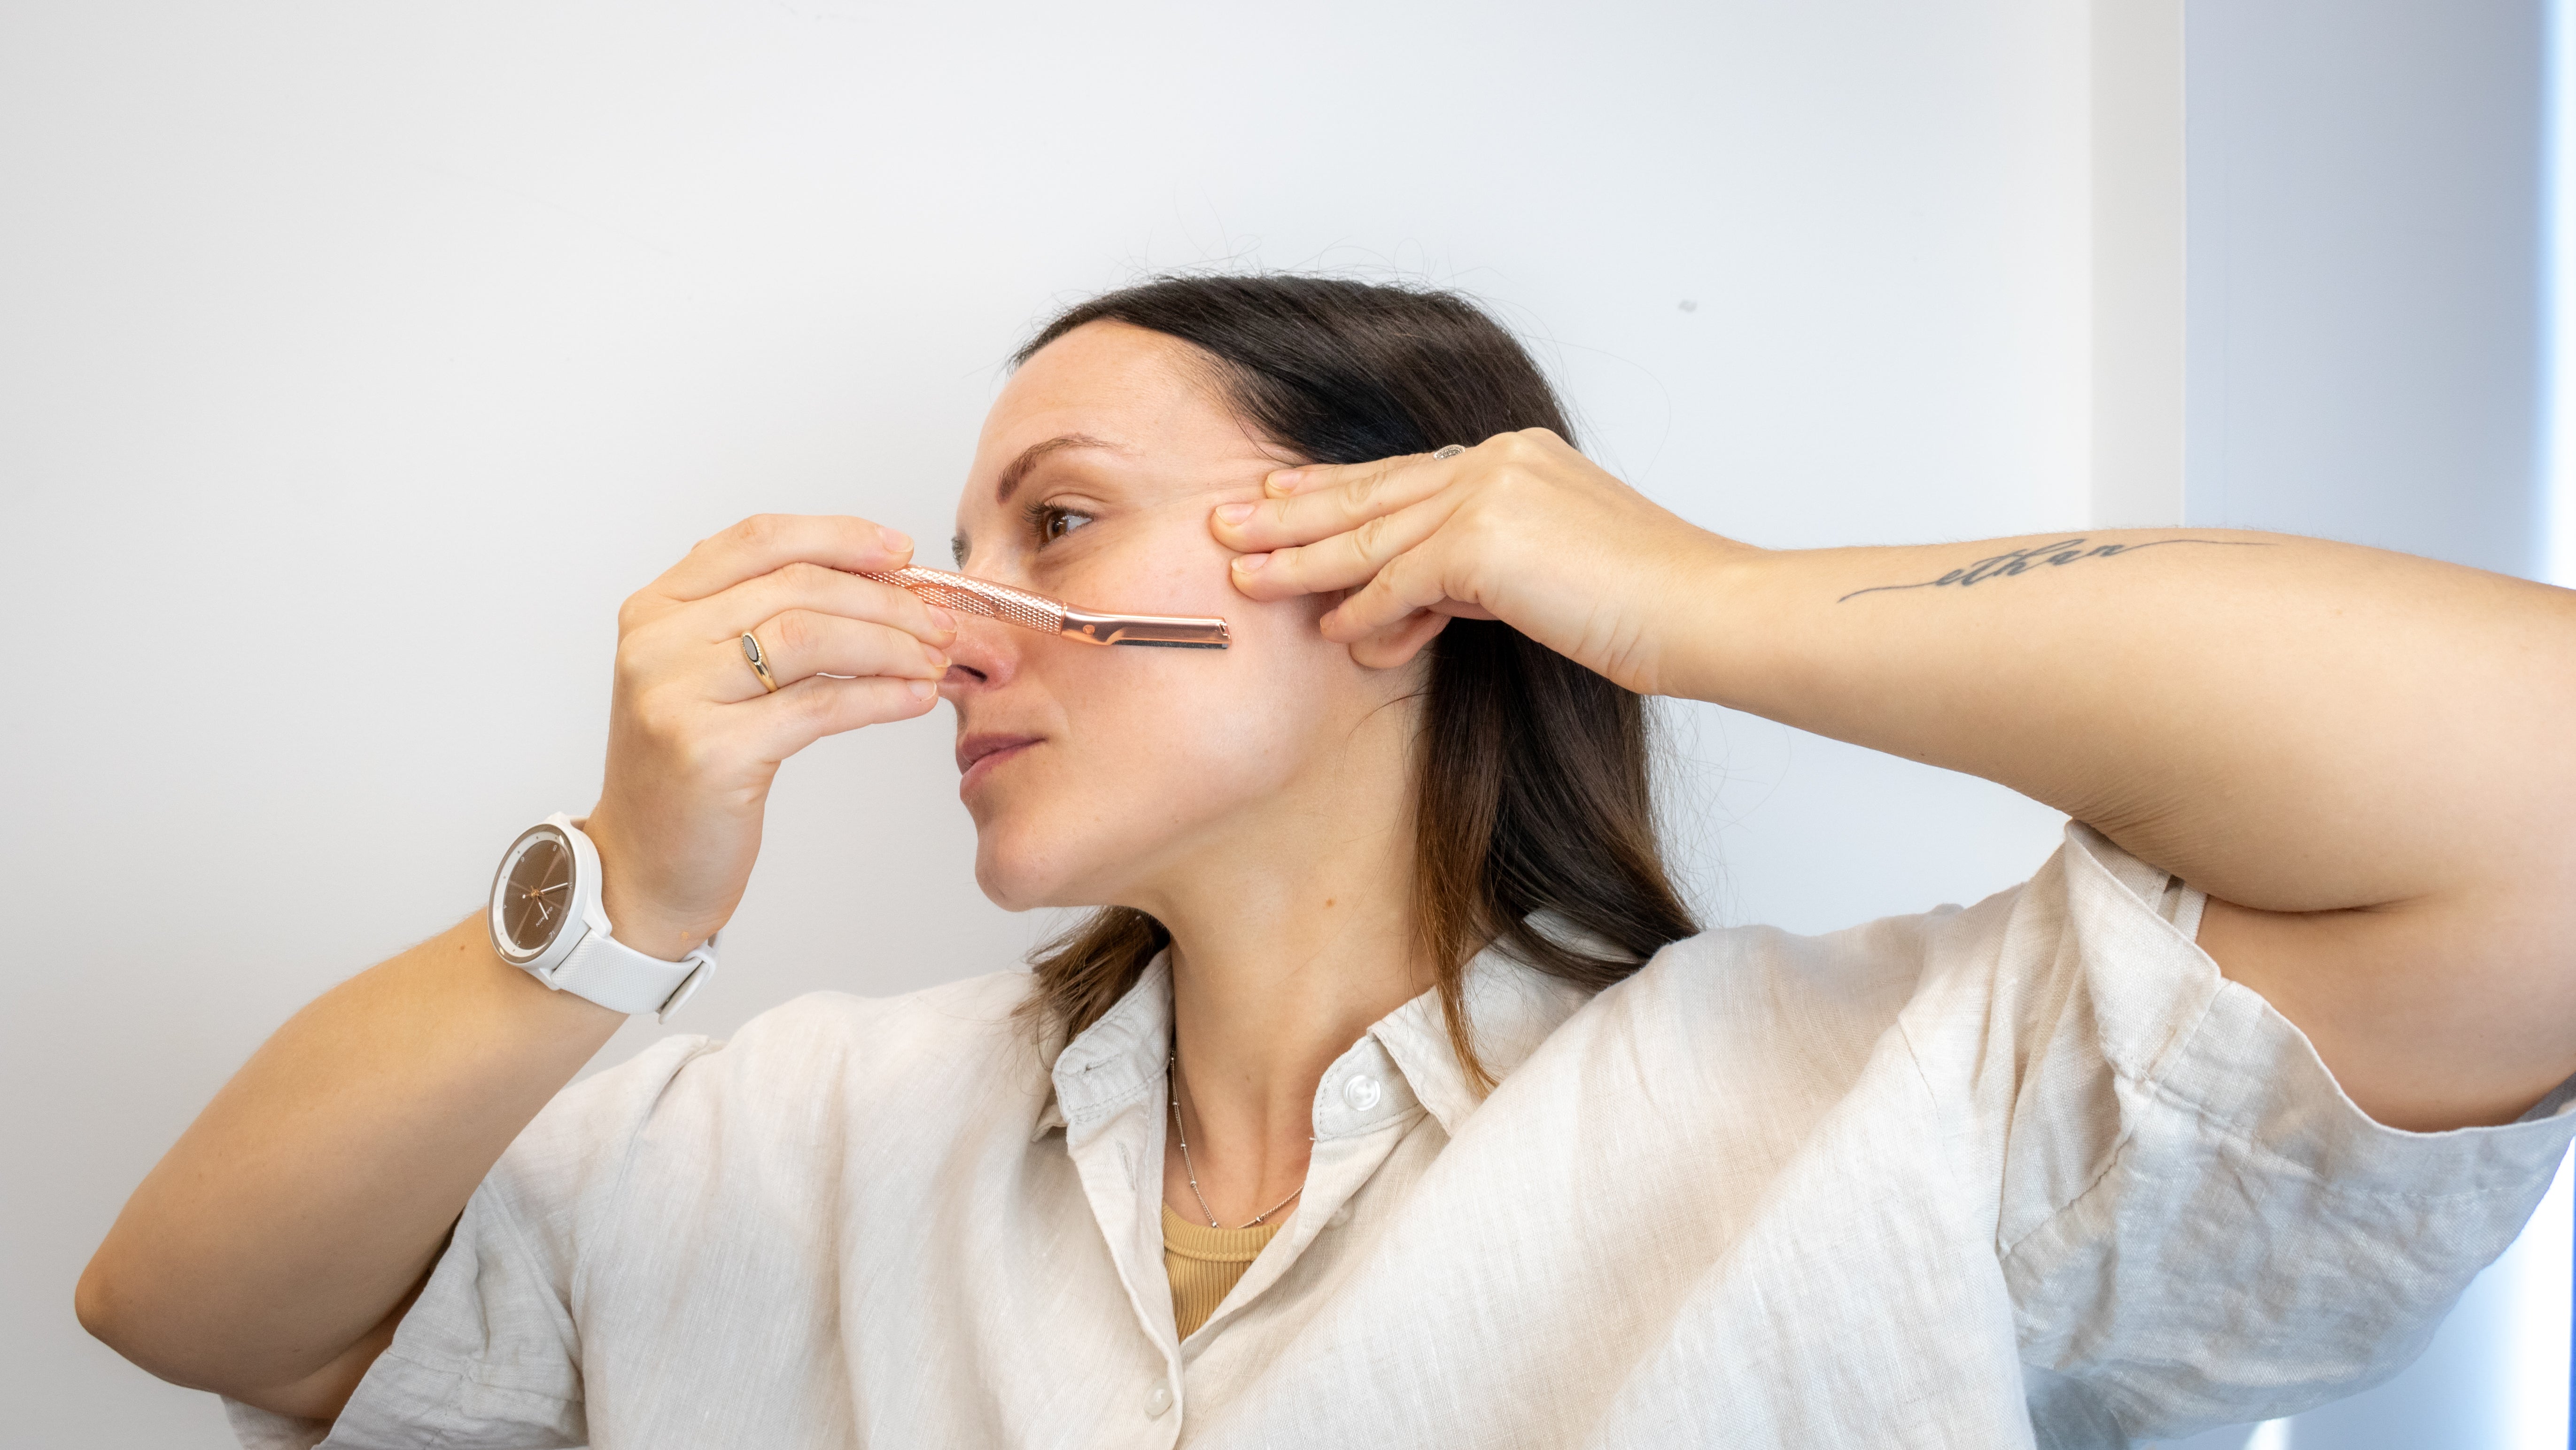
3. Hold Tight: Let's give those fuzzies the eviction notice they deserve! To start, hold your skin taut with one hand, ensuring there's no room for slack.

4. Angle It Like a Pro: To get the best possible results, you must maintain a 45-degree angle as you gently glide it in the direction of your hair growth.
 5. Short and Sweet Strokes: Gentle is key. Softly glide the tool with short strokes, avoiding any unwanted nicks or surprises. If you feel like you're auditioning for a horror movie, lighten up the pressure and take shorter strides

6. Bye-Bye, Fuzzies: Regularly wipe away the evidence – excess dead skin and peach fuzz – with a trusty cotton pad or tissue. A clean canvas is important for effective and glorious results.

7. Quench the Thirst: Post-dermaplaning, let your skin revel in the glory of a face moisturiser. They're your secret weapon against redness and irritation. Hydration, here we come!
How often should I use my dermaplaning tool?
Usually, dermaplaning lasts 2-3 weeks. Depending on your hair growth, we recommend you use your tool every 1-3 weeks.
When should I change my dermaplaning tool’s blades?
For hygiene reasons, we recommend changing your dermaplaner blades after every two uses.
How do I avoid breakouts after dermaplaning?
It’s important that after dermaplaning you use a moisturiser that is super hydrating and soothing on the skin. We advise to not wear makeup for at least 24 hours post dermaplaning, this allows the skin to recover and re-generate new cells as well as preventing redness and irritation caused by other ingredients in makeup products.
After dermaplaning you may notice that your skin will feel dryer and sometimes a bit red. The skin becoming dryer for the first few days is completely normal due to a new skin cell turnover.
How do I clean my dermaplaning blade?
To prevent any bacteria build up, you must clean the blade with an anti-bacterial wipe. Bacteria can cause irritation and redness after use. So, banish those nasty bacteria for the best results!
Remember: The blades are sharp so be careful when handling. We don’t want any accidents!
Where do I keep my dermaplaning tool after use?
Once dry apply the protective case to keep any extra nasties out and store in a dry place, so no moisture makes the blades go yucky or rusty.
About the FFS Beauty Metal Dermaplaning Facial Exfoliation Kit
Designed to be reused with recyclable blades, this metal tool will allow women to ditch their plastic dermaplaning tools to go with an eco-friendlier option.
The Metal Dermaplaning Facial Exfoliation Kit is designed to provide a high-quality experience with every use whilst being good for the planet. The tool and packaging are plastic-free, the handle on the tool provides extra grip against the plastic alternatives for easy control and comes with recyclable blades that can be replaced between uses quickly and safely.
Best of all, every woman can match their own style with the choice of four colours - Rose Gold, Black Pearl, Flamingo Pink or Silver.

